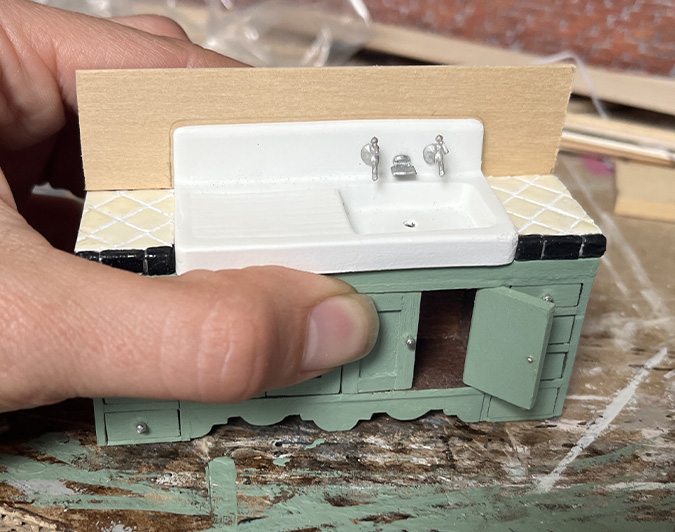
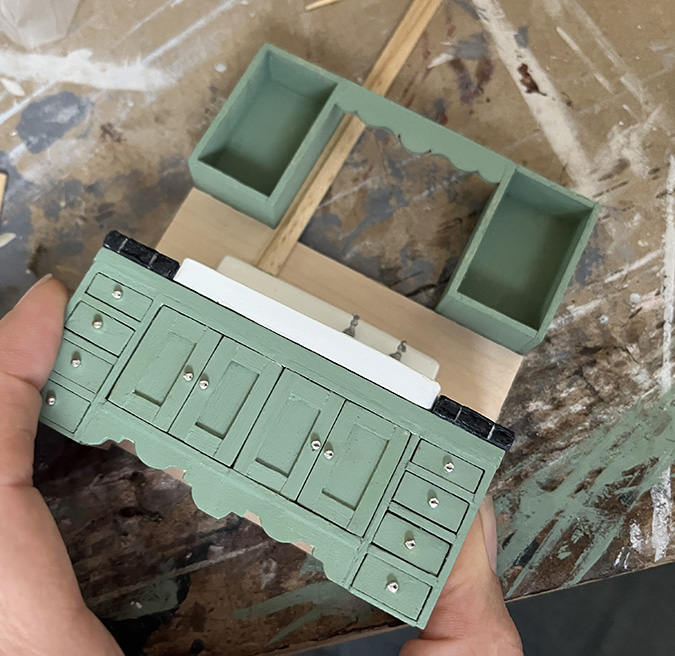
I mentioned at the end of my last post that the doors on the over-the-sink cabinets didn’t close all the way and I wasn’t sure I wanted to mess with them anymore.
Well, I messed with them. I removed each shelf, shaved off a small amount of the back using a utility knife, and glued them back in. Easy fix, really.

Moving on. As shown here, I started adding lights to the kitchen two and a half years ago (yikes). I had planned to use this light over the sink, made from two Houseworks fixtures that I frankensteined together.
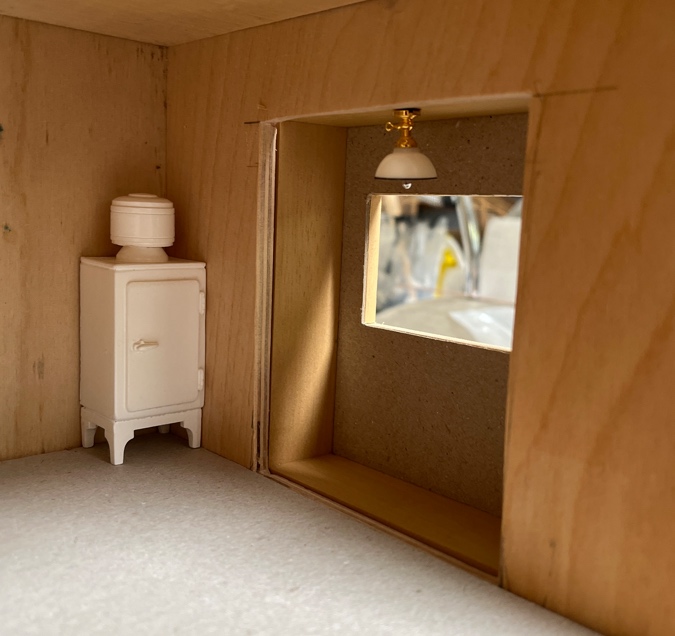
The wire is hidden under the roof, and feeds into the nursery where it will be plugged in. (Oh yeah, that’s why I went down this sink cabinet rabbit hole three months ago… I wanted to finish the kitchen electricity so I could work on the nursery…)
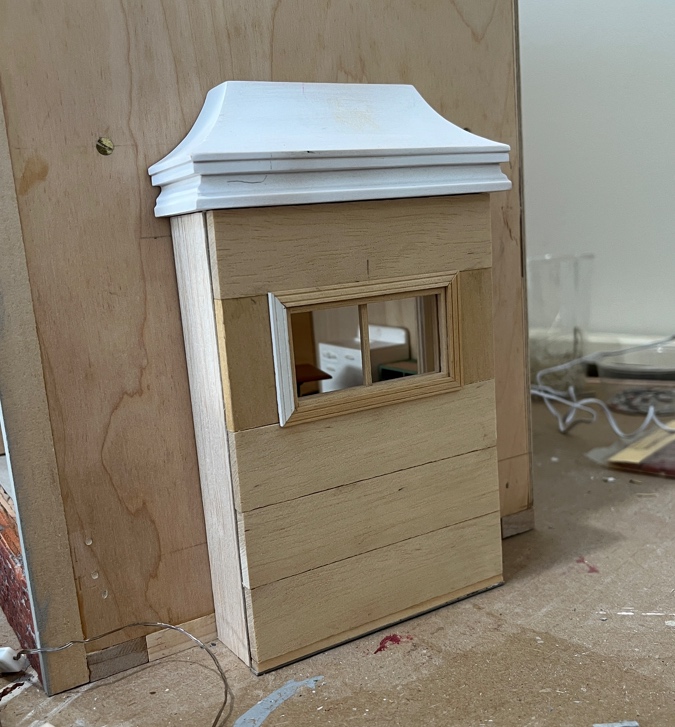
Later I moved that fixture out into the room and put this one in the bump-out.

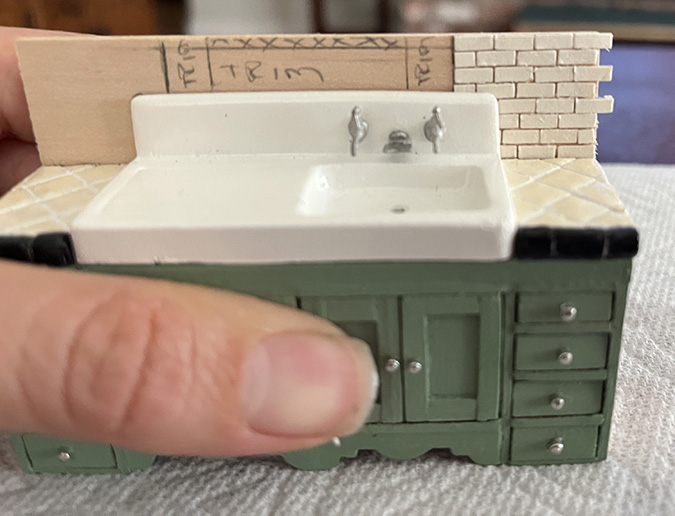
But that light gets in the way of the upper cabinets. Time for a new plan. I decided to insert a Cir-Kit screw-base bulb socket behind the cornice on the uppers, same as I did with the stove hood.
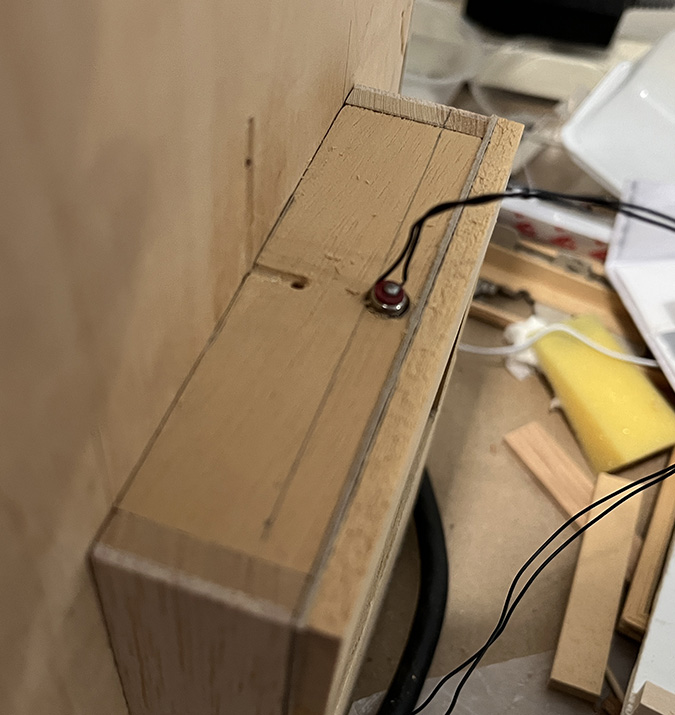
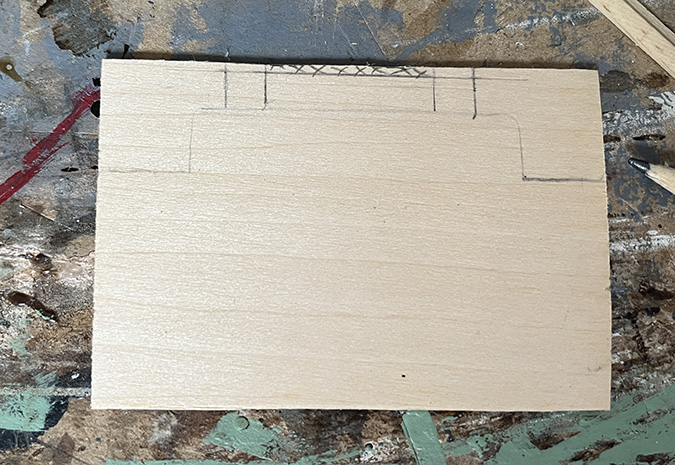
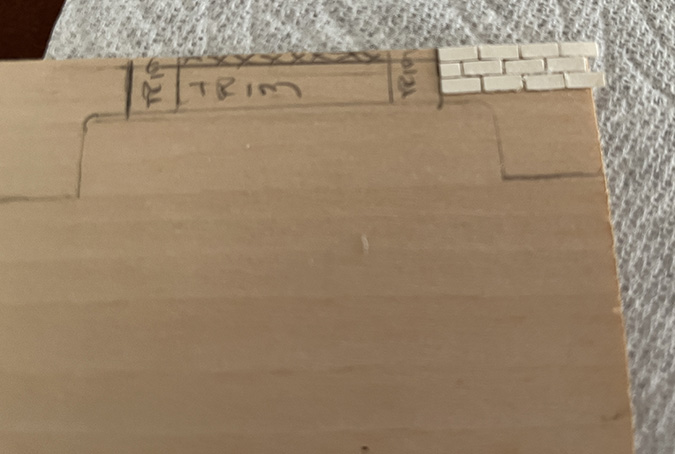
The piece of trim glued across the top of the cabinets doesn’t go all the way back to the wall. This pencil line shows where that trim ends. I have just enough space to drill a hole for the fixture.

I hadn’t considered that this fixture is a little taller than the thickness of the top of the bump-out, so the back side sticks out. I can add strip wood around the edges of the bump-out to make it a little taller. This will provide a cavity under the roof where I can leave some excess wire, allowing me to pull the fixture out into the kitchen if I need to change the bulb.
Inside, the bulb will be hidden behind the cornice.
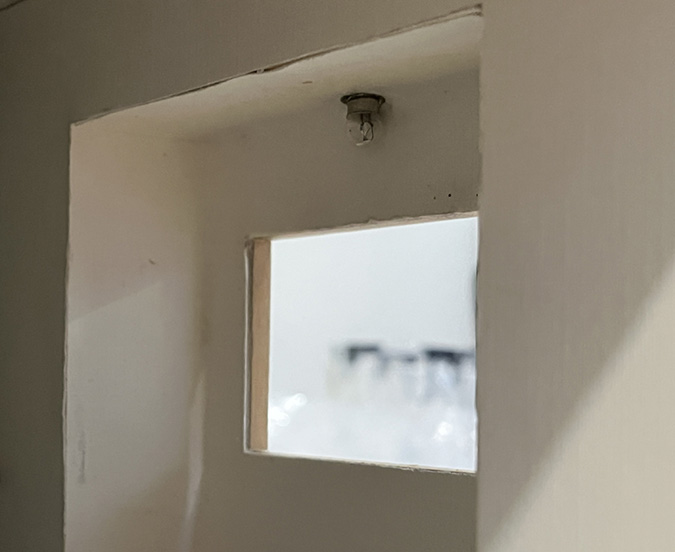
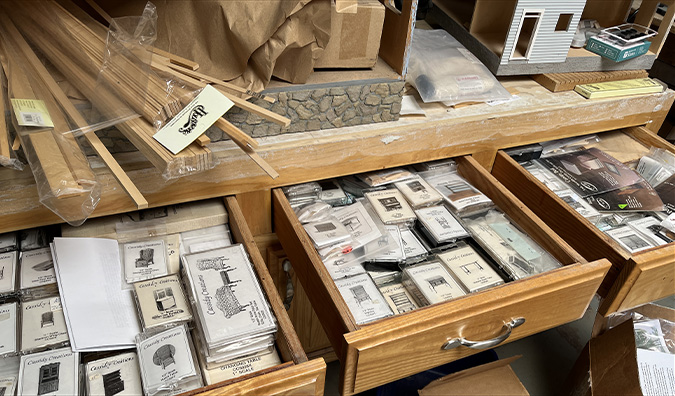
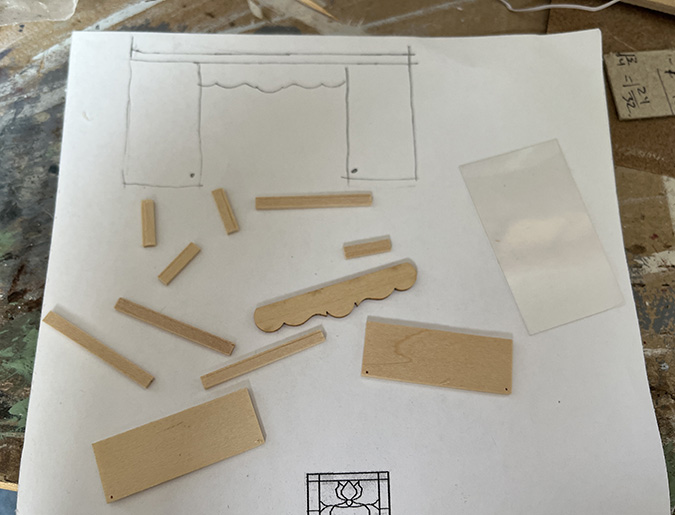
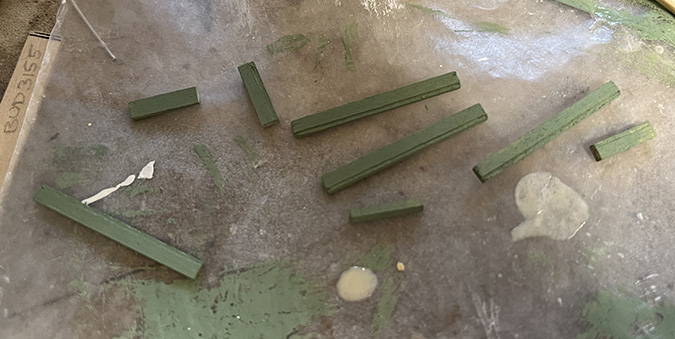
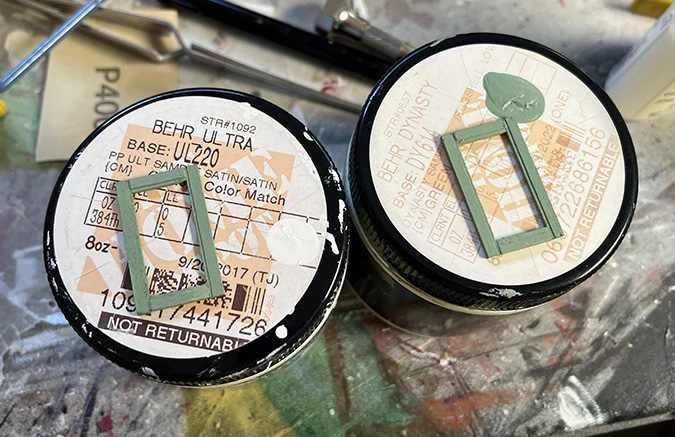
Now it’s time to do something about that big gaping window hole. After a lot of pondering, looking through my stash at different windows, and looking online at pictures of kitchens, I got the idea to make a stained glass window out of laser-cut mullions (sold by D’s Miniatures on eBay).

 Emily is a freelance writer, miniaturist, and adventure game enthusiast.

